Create Safe on Mac and add file
Start window / Welcome to SimpleumSafe
When you start SimpleumSafe for the first time, you will see the following dialog. Select “Create Safe”. Or select Menu > Safe > New… to create a new Safe.
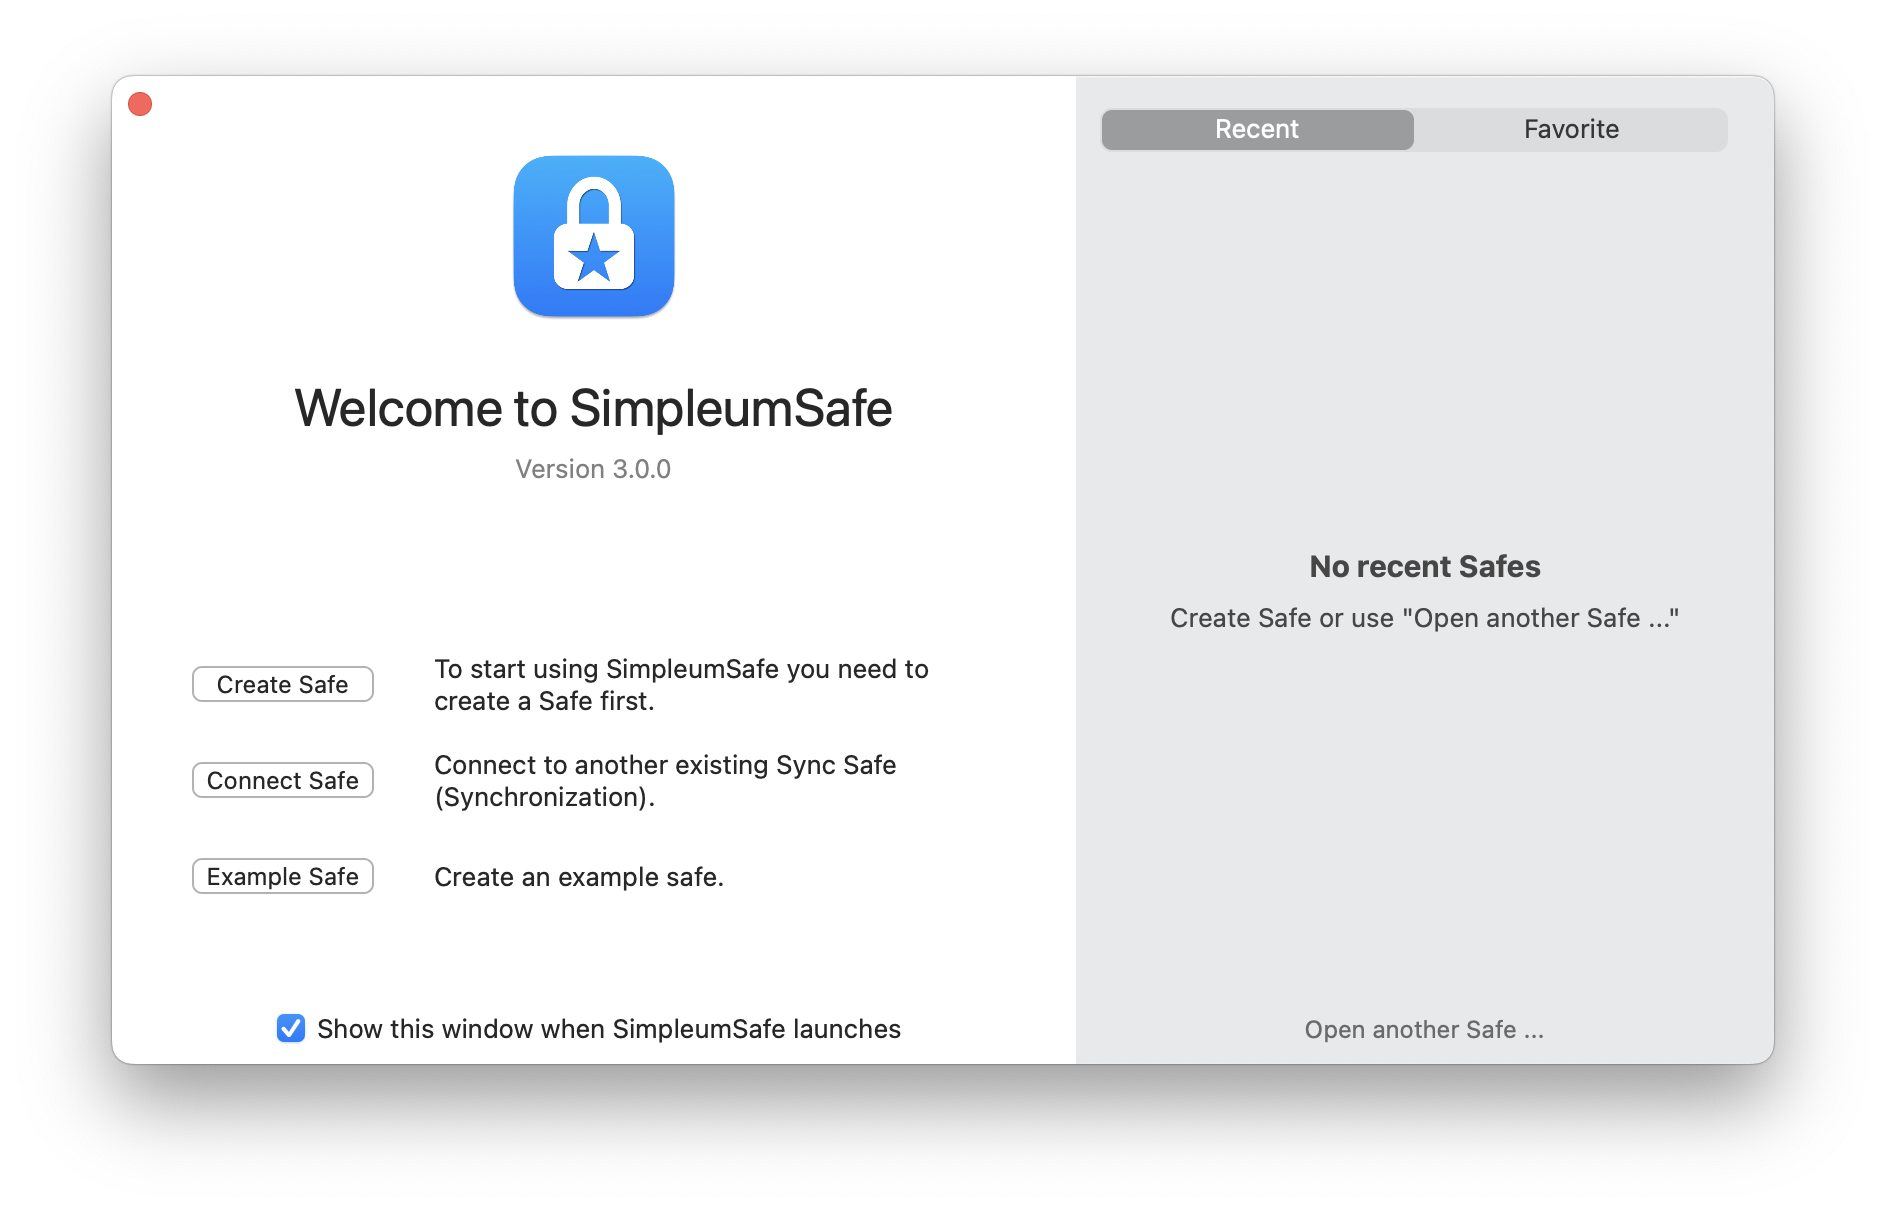
Create a new Safe
- Now click “Select” and select a suitable storage location and a name for the new Safe.
- Enter an appropriate password.
- Repeat the password and click the “Next” button.
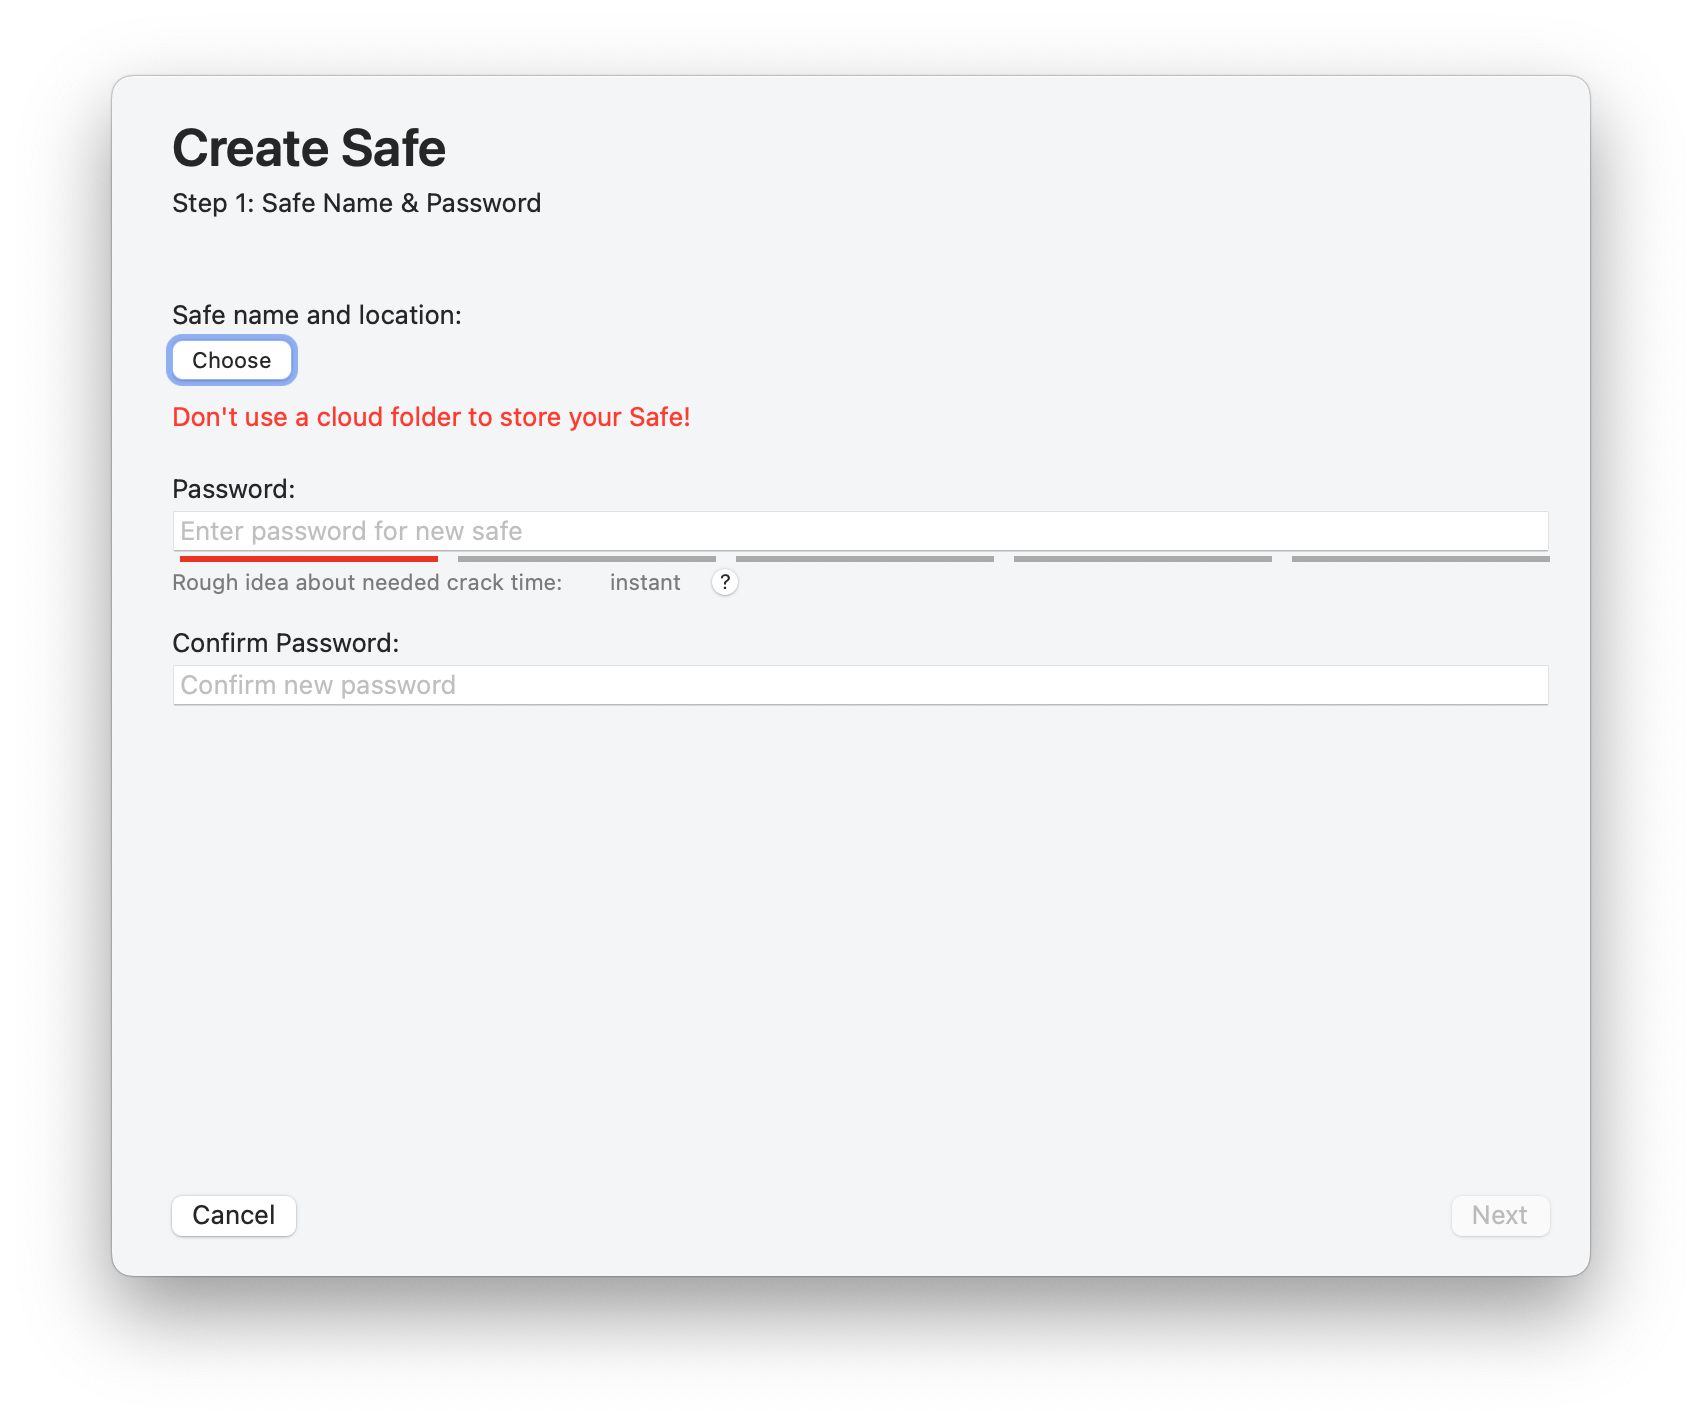
Create recovery password
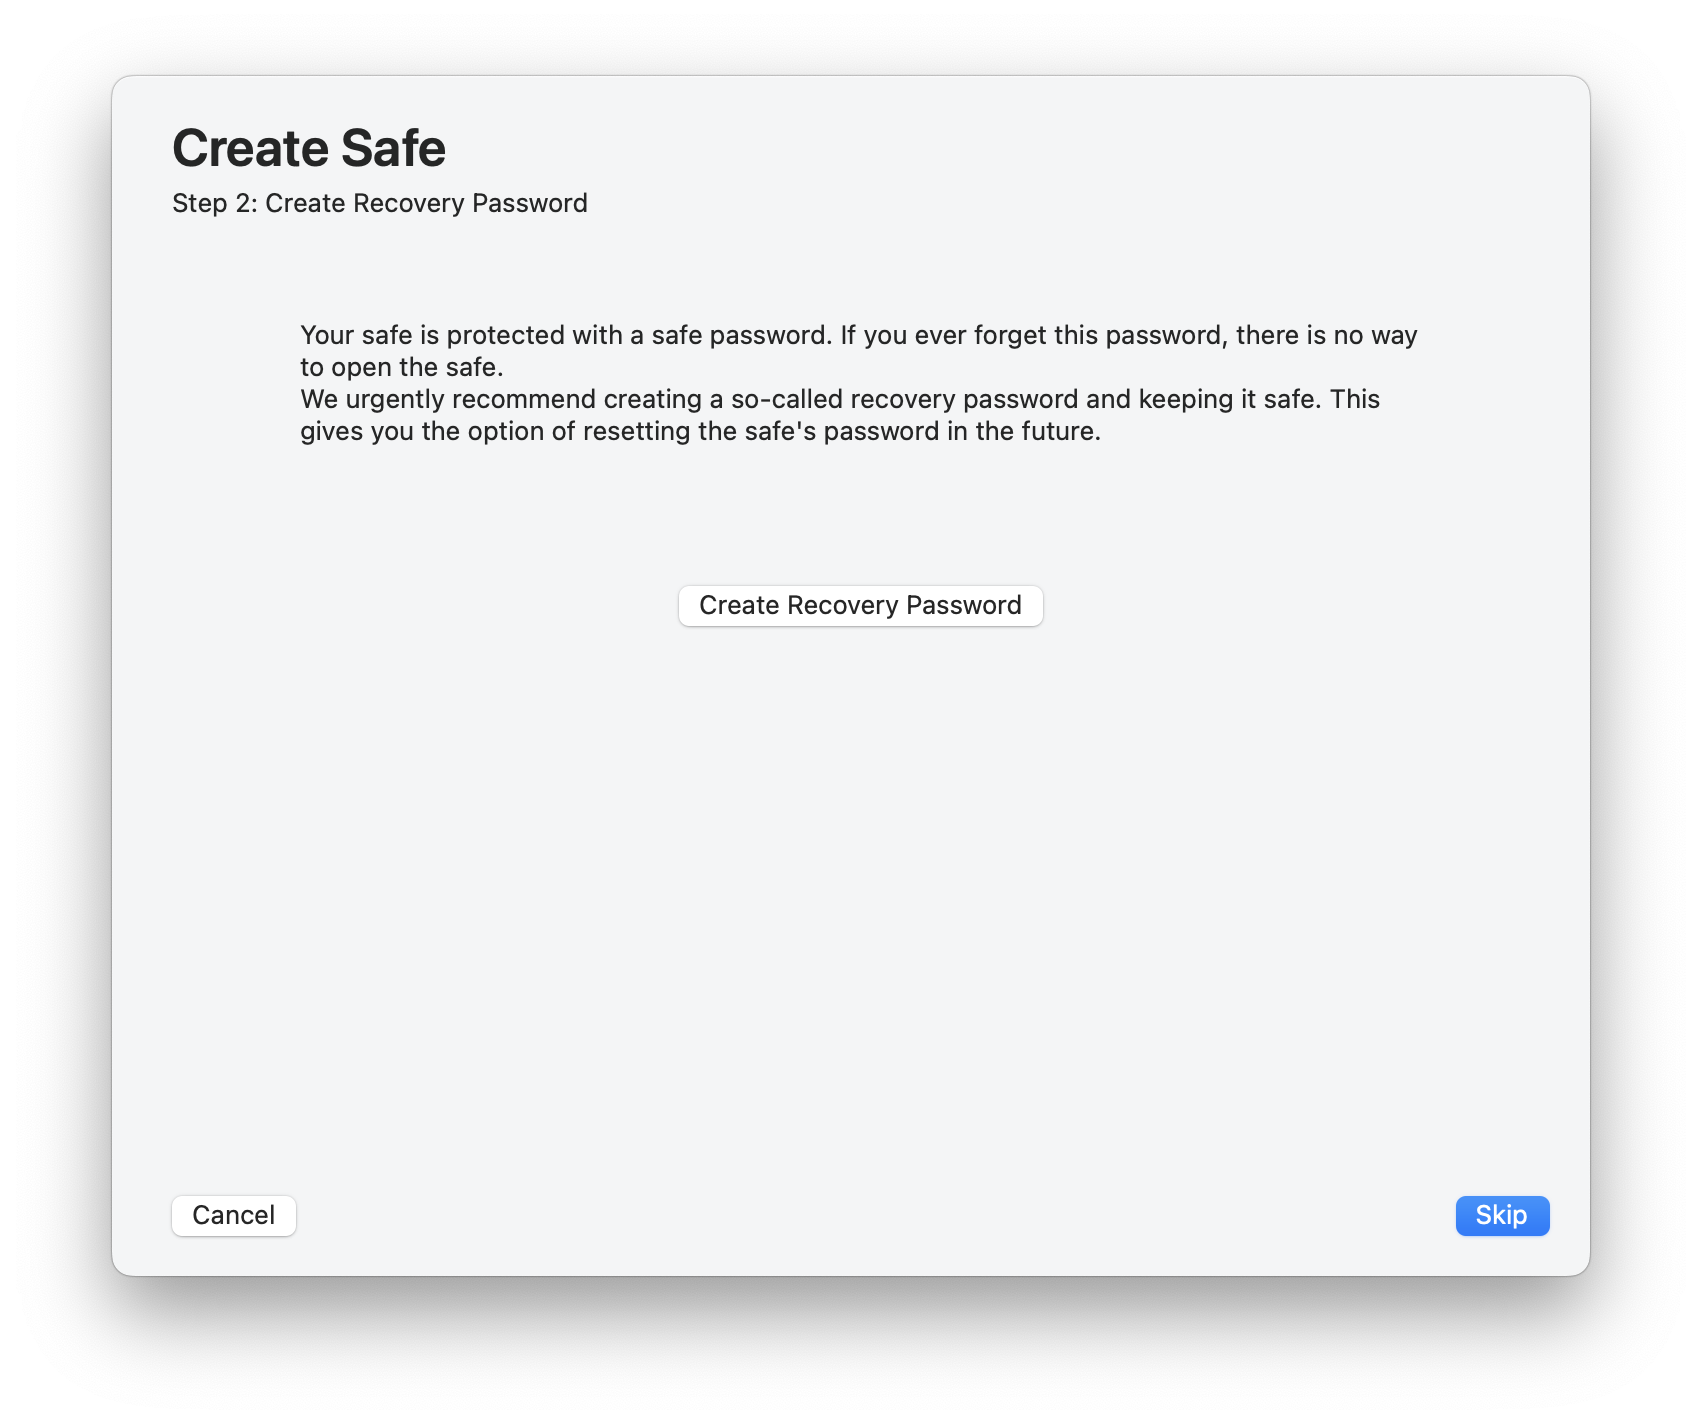
You now have the option of creating a recovery password while creating the Safe. You can do this at any time later, but we recommend creating it right away.
- Click on “Create recovery password”
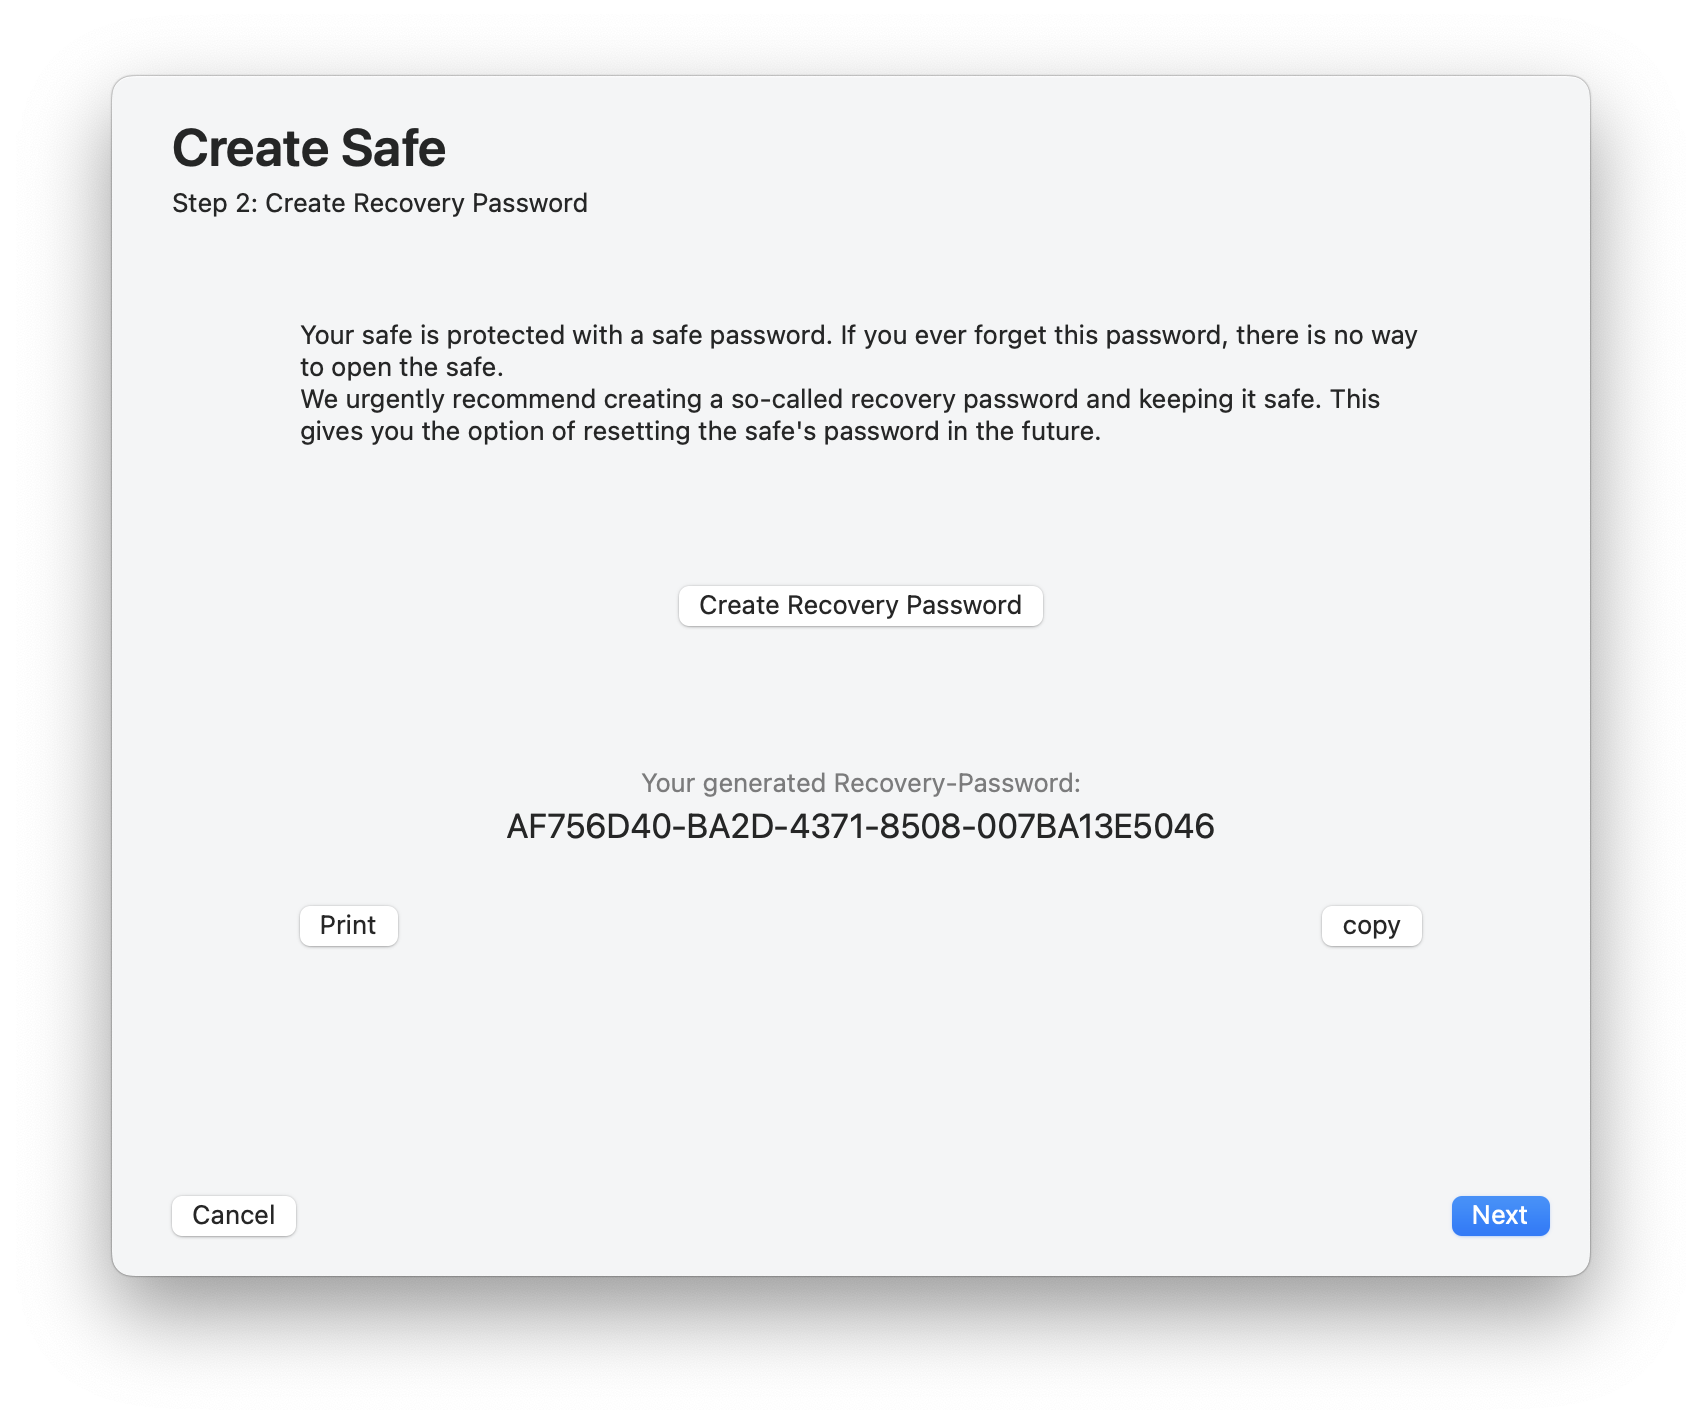
- Print the recovery password, write it down or copy it to a password manager.
- click the “Next” button.
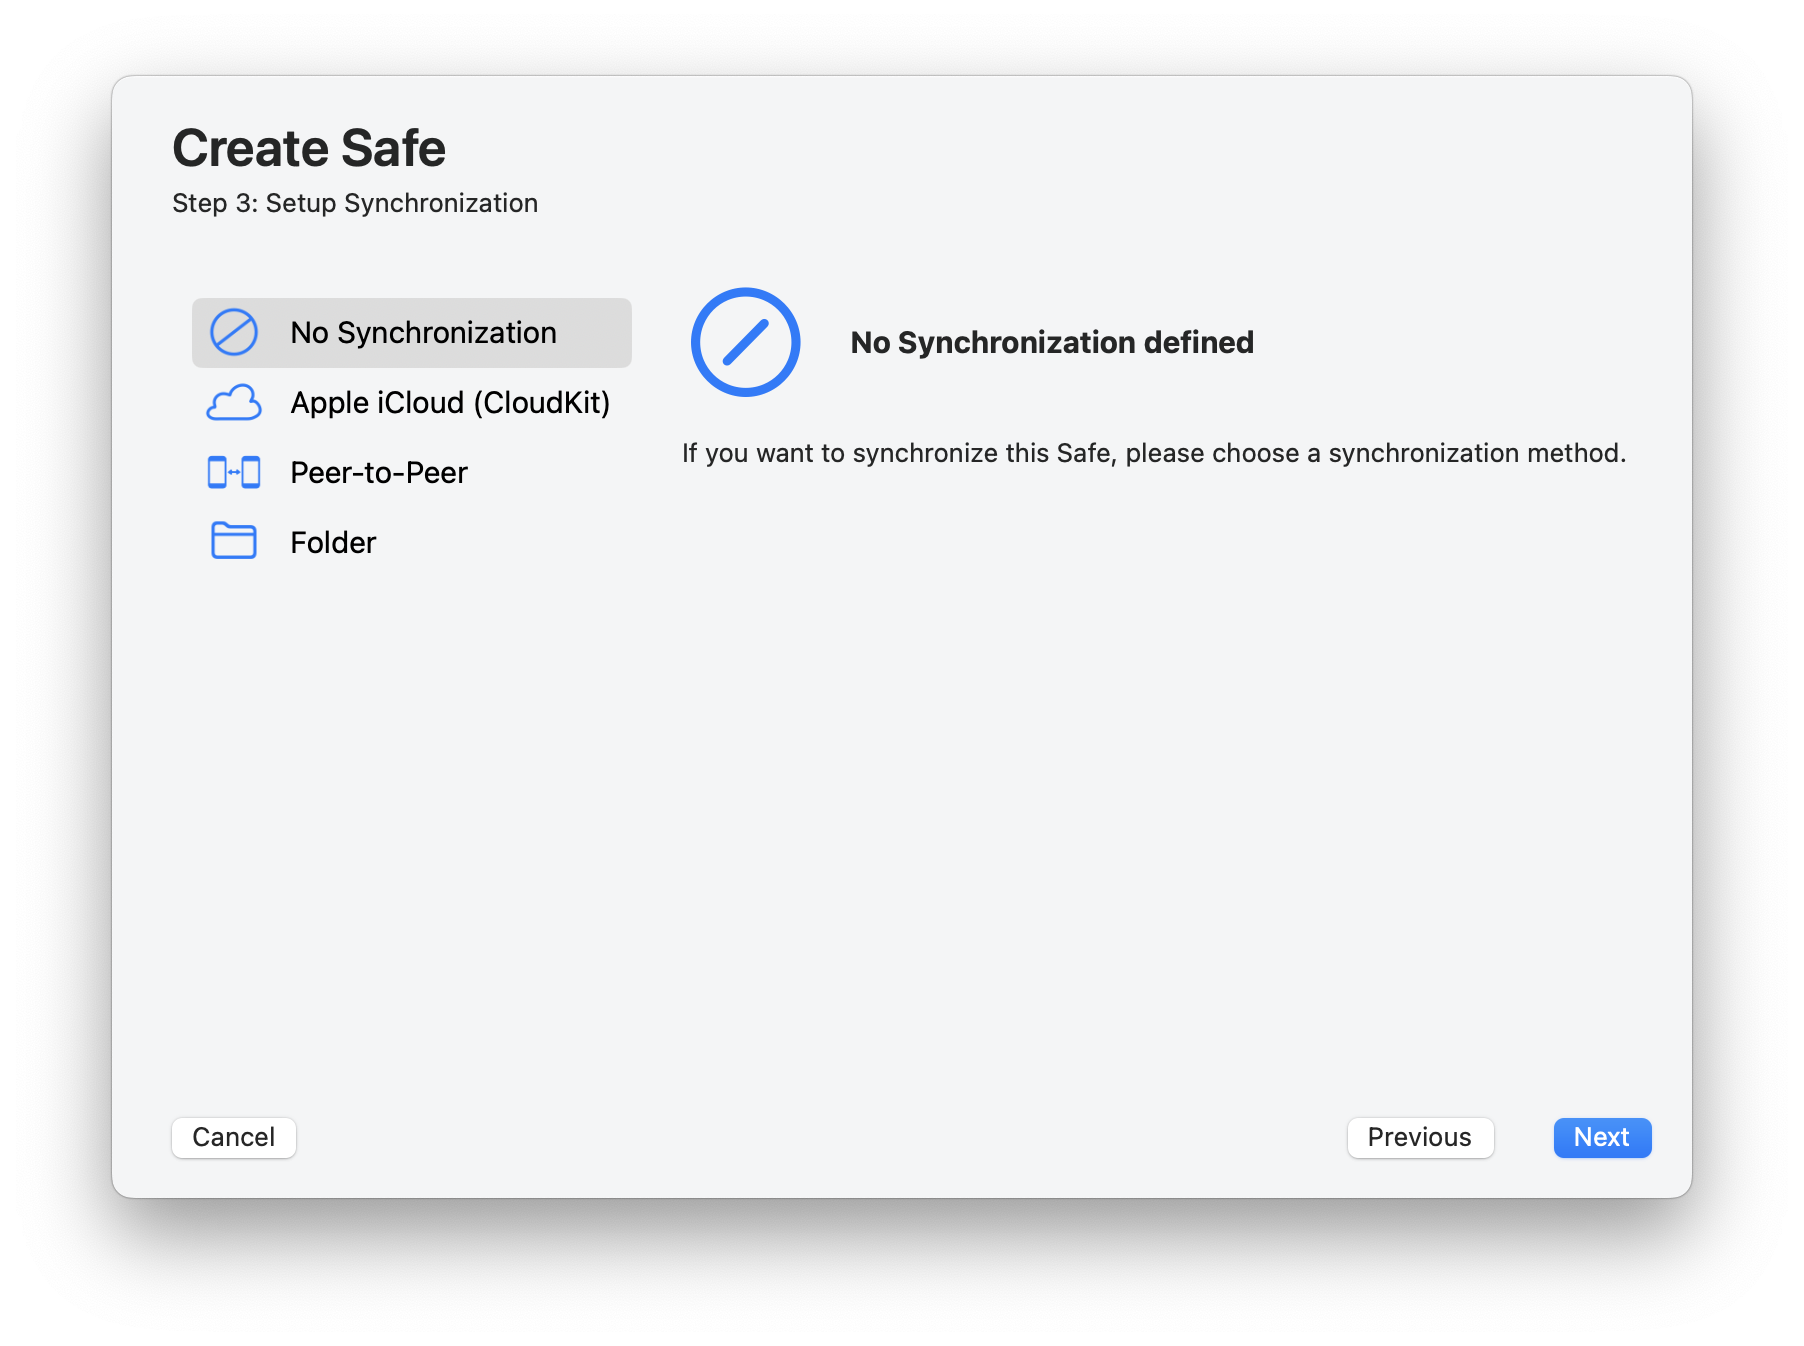
Skip sync
In this example we skip the synchronization. Instructions for setting up with synchronization
- Select “Next”.
Open Safe
The last step is to open the new Safe.
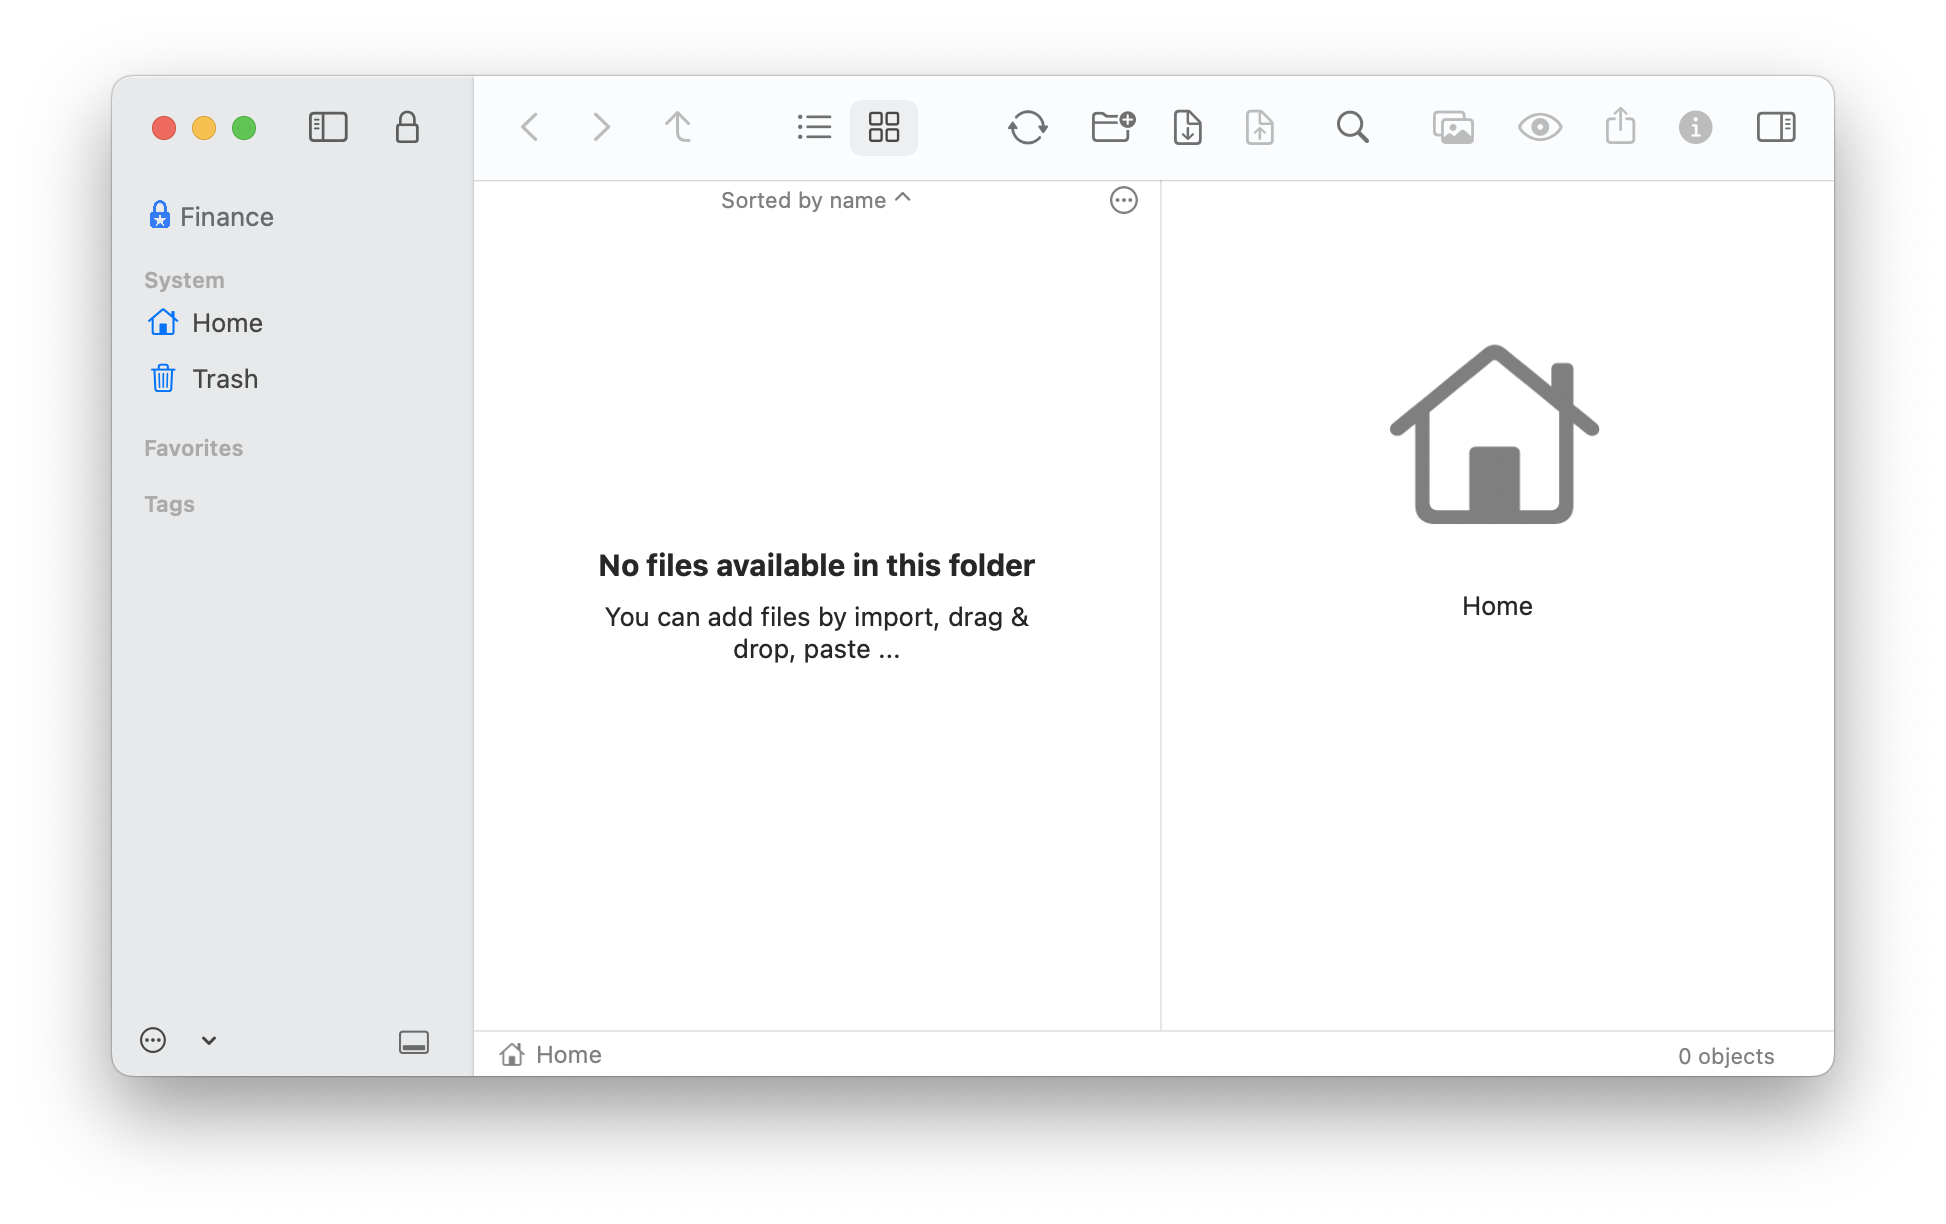
Add file to Safe
Files can be added to a Safe in different ways:
- Menu > File > Import…
- Drag file from Finder to Safe
- Click on the import icon in the toolbar
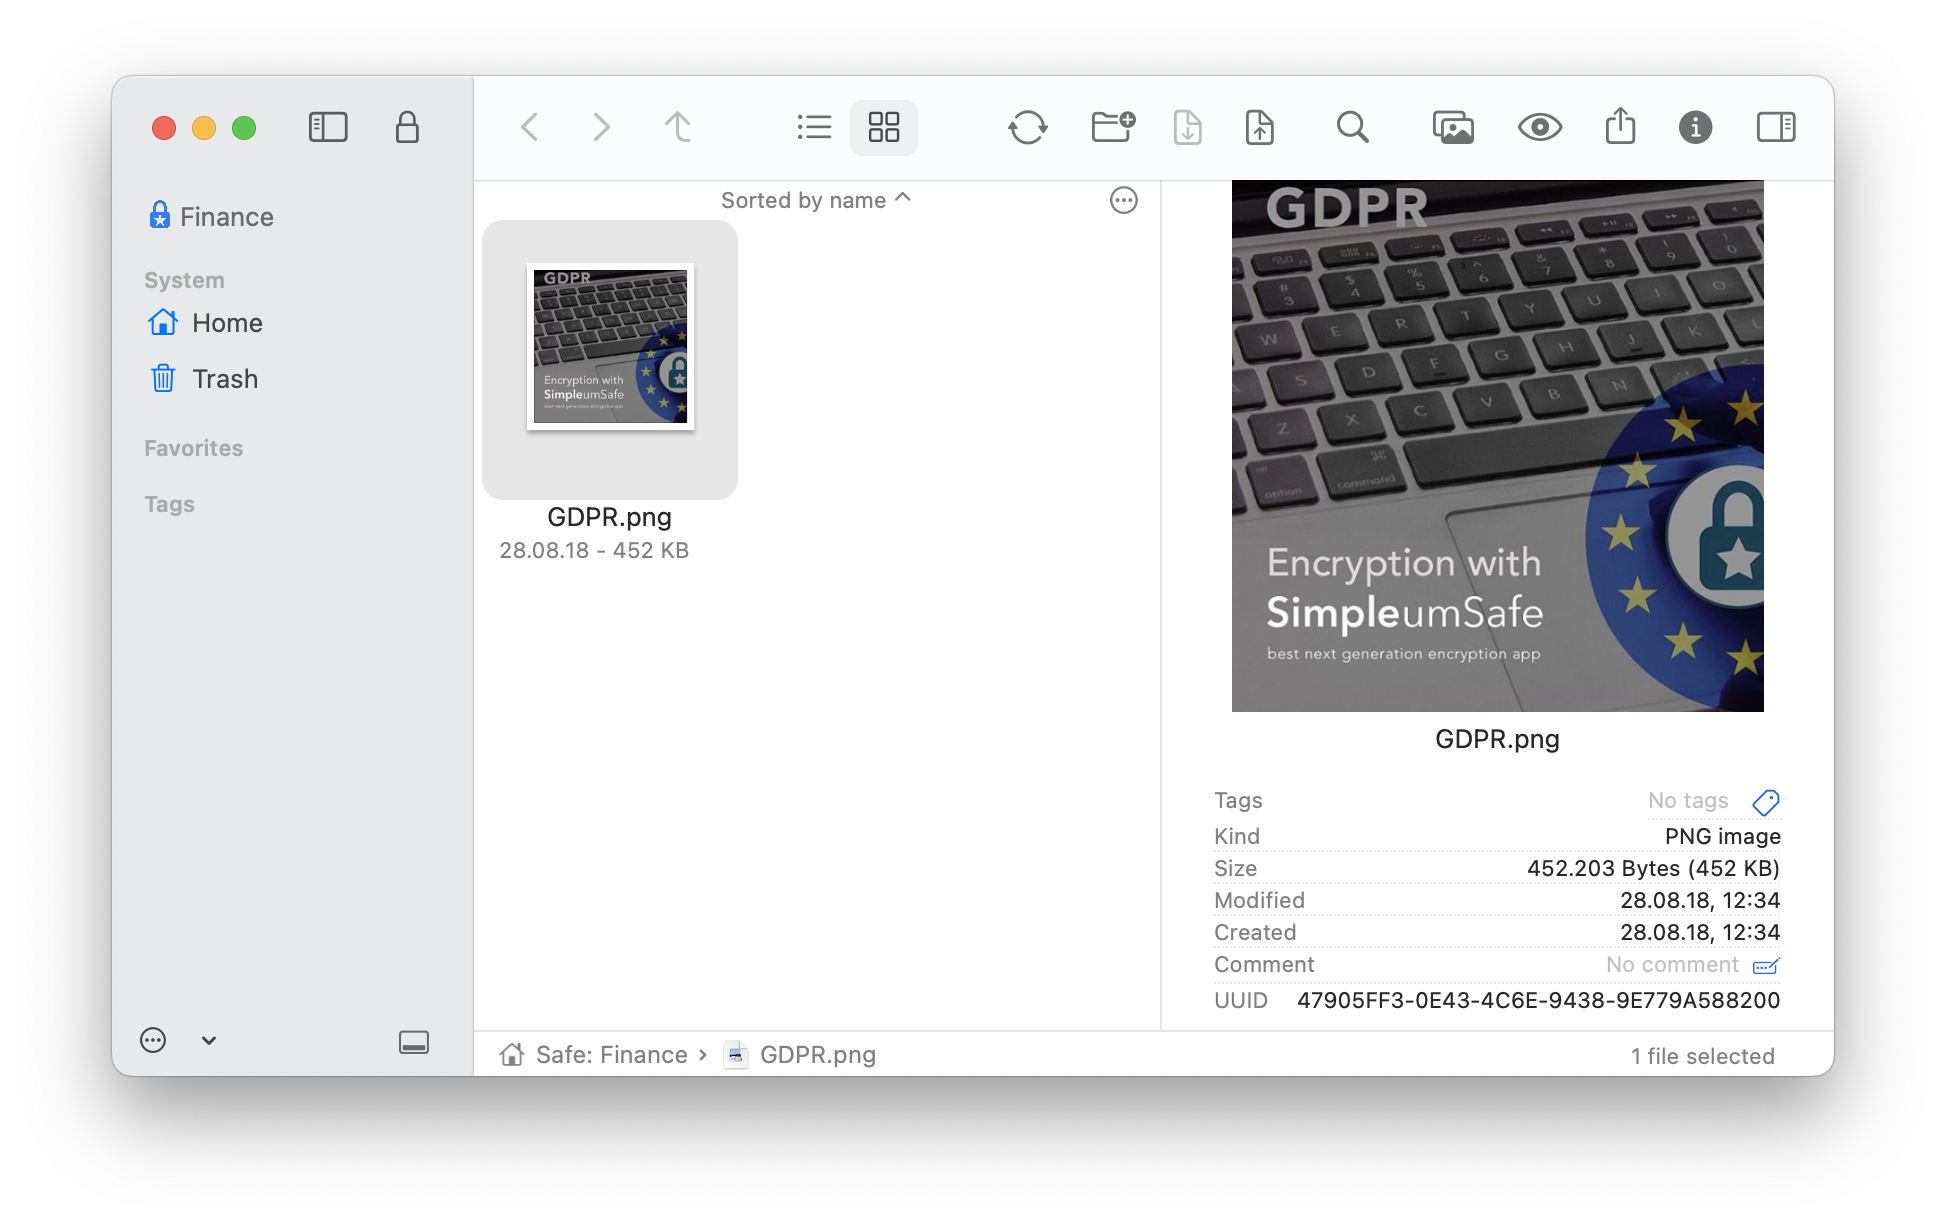
Import first file
Of course, when the file was imported, it was also encrypted.
The original file (outside the Safe) still exists. This is the default behavior of SimpleumSafe. You decide when to delete the original file. You can change this behavior in the Safe settings.
Congratulations
You have encrypted your first file.
Of course, you can also drag entire folders into the Safe.